Instructions
Applying Optifold
Follow the steps in order. Keep your head position consistent during application to maintain stable skin tension.
Everyone’s eyelid anatomy is different, so small adjustments in angle, height, and tension are normal. Send us your videos so we can properly guide you.
Step 1
Setup: skin tension + table-top mirror

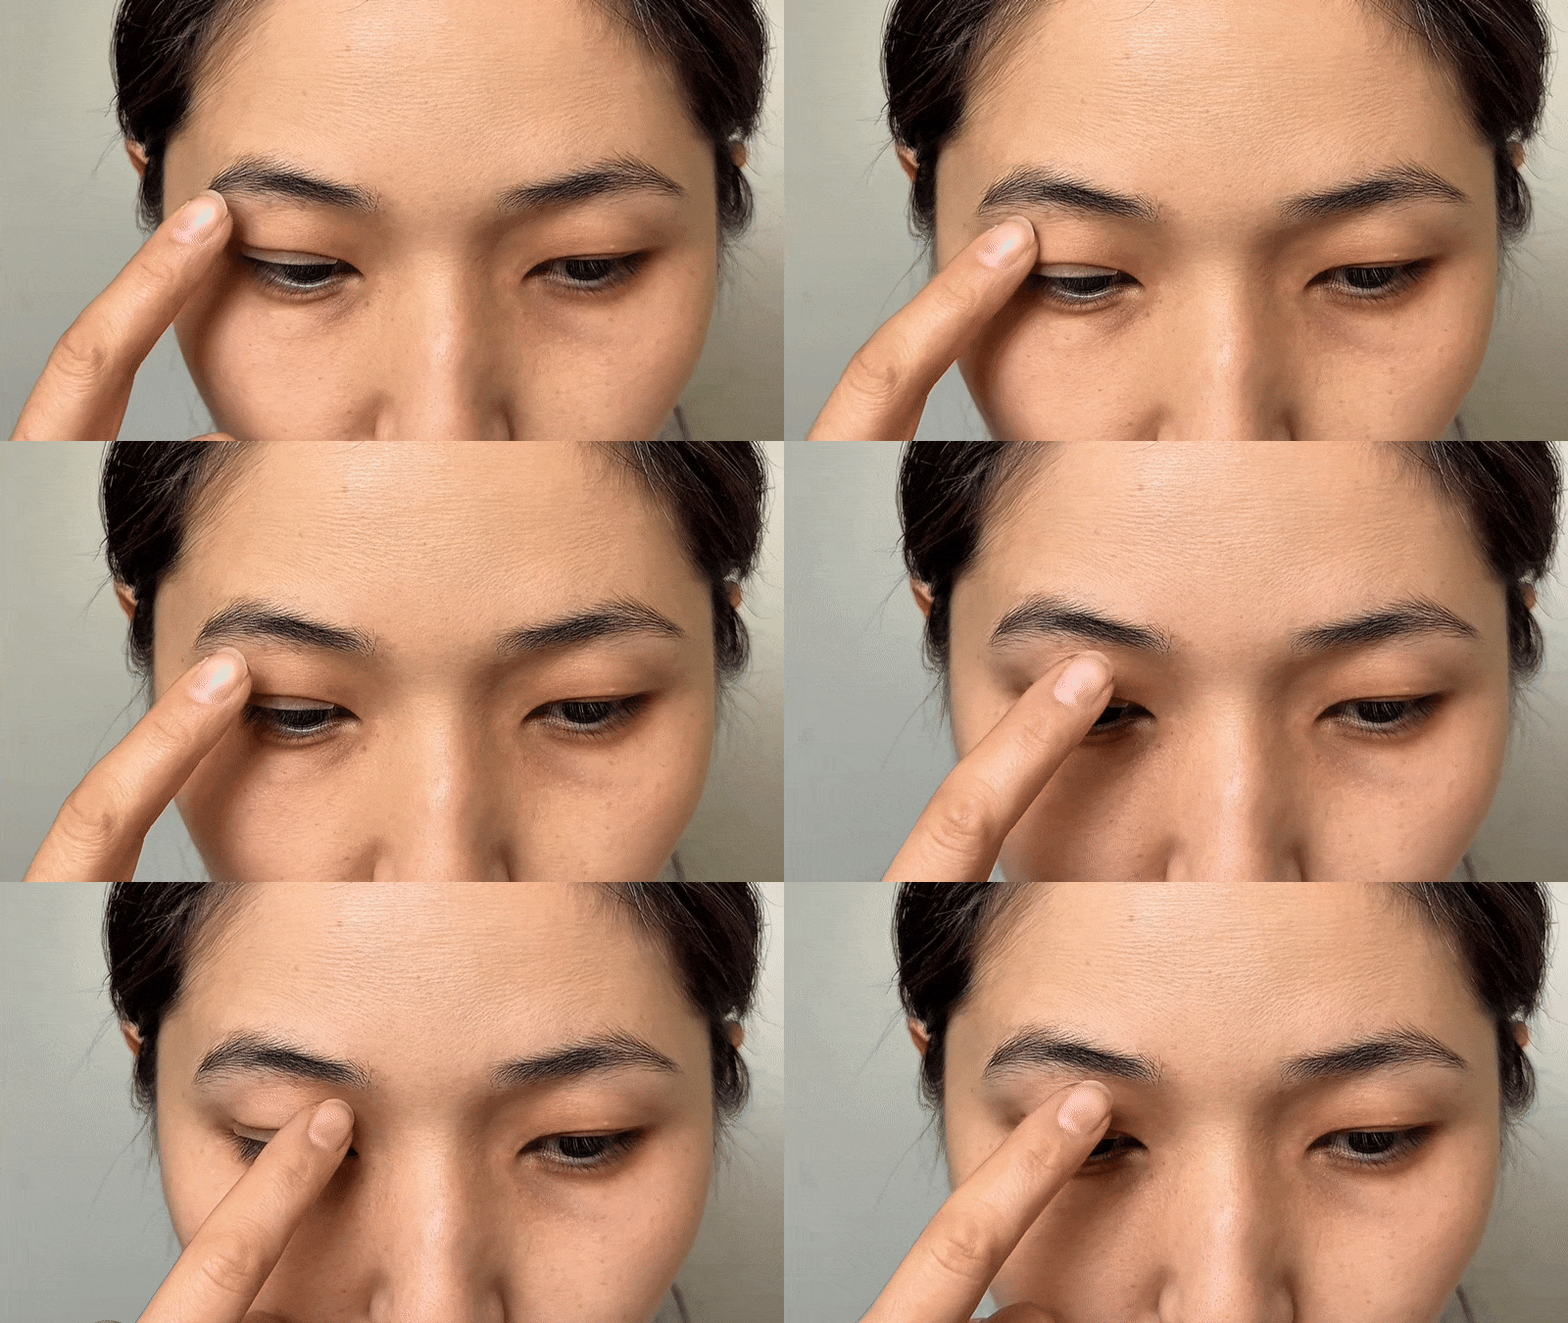
Before applying any tape, keep your upper eyelid skin fully stretched using the table-top mirror setup. Raise your eyebrows to smooth and flatten the upper eyelid area, then keep your gaze angled downward into the mirror. This holds the skin in a stable, flat position so you can see your intended crease route clearly, place the tape accurately, and repeat the same placement consistently.
IMPORTANT: Read the Table Top Mirror guide first → then come back and continue Step 1
IMPORTANT: Read the Table Top Mirror guide first → then come back and continue Step 1
- Goal: the upper eyelid skin should feel tight and flat before you place tape.
- If the skin is not stretched flat, the tape may catch on uneven folds and reduce hold.
Step 2
Tape angle guidance (by eyelid type)
East Asian eyelids

Apply the tape downward in a curve that connects toward the inner corner of the eye. This shape helps simulate the natural mono-to-double transition zone.
Occidental eyelids

Leave a small gap between the tape and the lash line to avoid interfering with lash volume and to allow a subtle top crease to build from the upper fold.
- Placement check: the bottom edge should sit right above the lash line, close but not covering the lashes.
- Shape goal: a soft, smooth arch (no crumpling, no lifting).
Step 3
F-tape
Place the F-tape (no overlap yet)

Place the F-tape on your eyelid first. At this stage, the upper eyelid skin has not been overlapped onto the tape yet.
Smooth the upper eyelid skin down in a gentle arc

Gently stretch the upper eyelid skin downward in a smooth arc onto the tape. This helps the skin mold to the tape’s curve for a more stable crease shape.
Look straight check

Look straight ahead to confirm the tape sits evenly and the crease shape is stable. Smooth gently upward with a fingertip if needed.
Step 4
N-tape
Place the N-tape

Apply the N-tape over the F-tape so the top of your natural eye crease aligns with the middle of the F-tape. This compression reinforces the crease from above while holding everything stable during wear.
Anchor the legs

Use your support hand to steady the brow. Then lower the legs of the N-tape and attach them slightly below the eye. You should feel gentle tension that helps activate the crease.
Instructions
Removing Optifold
Remove slowly to avoid disrupting the crease you just trained.
Step 1
Remove N-tape

Using your fingertips, gently pinch and peel off the N-tape starting from the inner edge and working outward. Move slowly to avoid disrupting crease development.
Step 2
Remove F-tape
Unsticking the F-tape

Before peeling the F-tape off, first unstick the upper eyelid skin from the double-sided part of the F-tape (Fold Lock surface). This “release” step disengages the skin from the Fold Lock surface so the F-tape can be removed smoothly without dragging the upper eyelid skin.

Peel the F-tape from the outer corner toward the inner corner with a smooth, controlled motion.
Eyelid crease exercises
Eyelid Crease Exercises
Use these routines after removal or any time the crease feels weaker through the day.
Routine 1
Tracing-the-Line + Holding-the-Line
Lotion

Apply a tiny amount of soothing cream to your eyelid so the tool can glide comfortably.
Tap the lotion onto the eyelid

Tap lightly to spread a thin layer.
Take the tweezer

Use a rounded-edge crease tool. It should feel smooth, not sharp.
Trace with the tweezer

Gently trace from the inner corner to the outer corner about 20 times. Only go in one direction. Consistency helps reinforce muscle memory.
Hold the crease

Hold the crease between your index and middle fingers for 10–15 seconds. This compression helps seal the crease.
Routine 2
The Looking-Up Habit

Right after applying Optifold, or when waking up and waiting for your crease to form, keep your head neutral and eyes looking forward.
- Avoid looking down at your phone, books, or screens. If needed, lift your device to eye level.
- The first 10–20 minutes after tape removal are critical because the skin is still pliable and responds to gravity.

